Better Super 8 titles on analog film
Using digital tools
By Florian Cramer
In the old home movie days, most Super 8 film titles were handmade and cute – drawn on paper or typeset using analog DIY tools such as rub-on letters and magnetic letter sets. Today, most Super 8 filmmakers do their titling “in post”, by having their films scanned and superimposing letters in a video editing program. This tends to create an alien contrast between razor-sharp, rock-steady digital type and the soft, jittery, organic Super 8 material. In this tutorial, we’ll describe a third approach that marries the advantages of digital typography with the beauty of analog film: professionally looking titles shot on Super 8 film from a flat screen display.
Digitally typeset titles are, of course, nothing in new in Super 8 filmmaking. The most commonly used method, printing titles on paper and filming them with a Super 8 camera, can however yield disappointing results. Paper has a low contrast ratio of only about 6 f-stops versus the 10-13 f-stops of film. In most cases – without an animation stand and professional lighting -, white letters on a black background will turn out on film as light-grey letters on a dark-grey background, with the paper texture being visible in the film.
Better looking results can be achieved by filming titles from a flat screen TV or computer monitor. The resolution and contrast of run-of-the-mill HD flat screens is more than good enough for Super 8 (and even for most 16mm) film titling.
Technology needed
- A Super 8 film camera with manual exposure controls and single frame shooting via an electronic remote or mechanical cable release;
- simple setup: a computer with a flat screen monitor with at least Full HD (1920×1080 pixel) resolution;
- alternative, more advanced and comfortable setup: a laptop with HDMI output connected to an HD or 4K flat screen TV;
- additionally recommended: a digital stills camera with full manual mode and an f1.8 lens for testing exposure.
Step 1: designing your titles
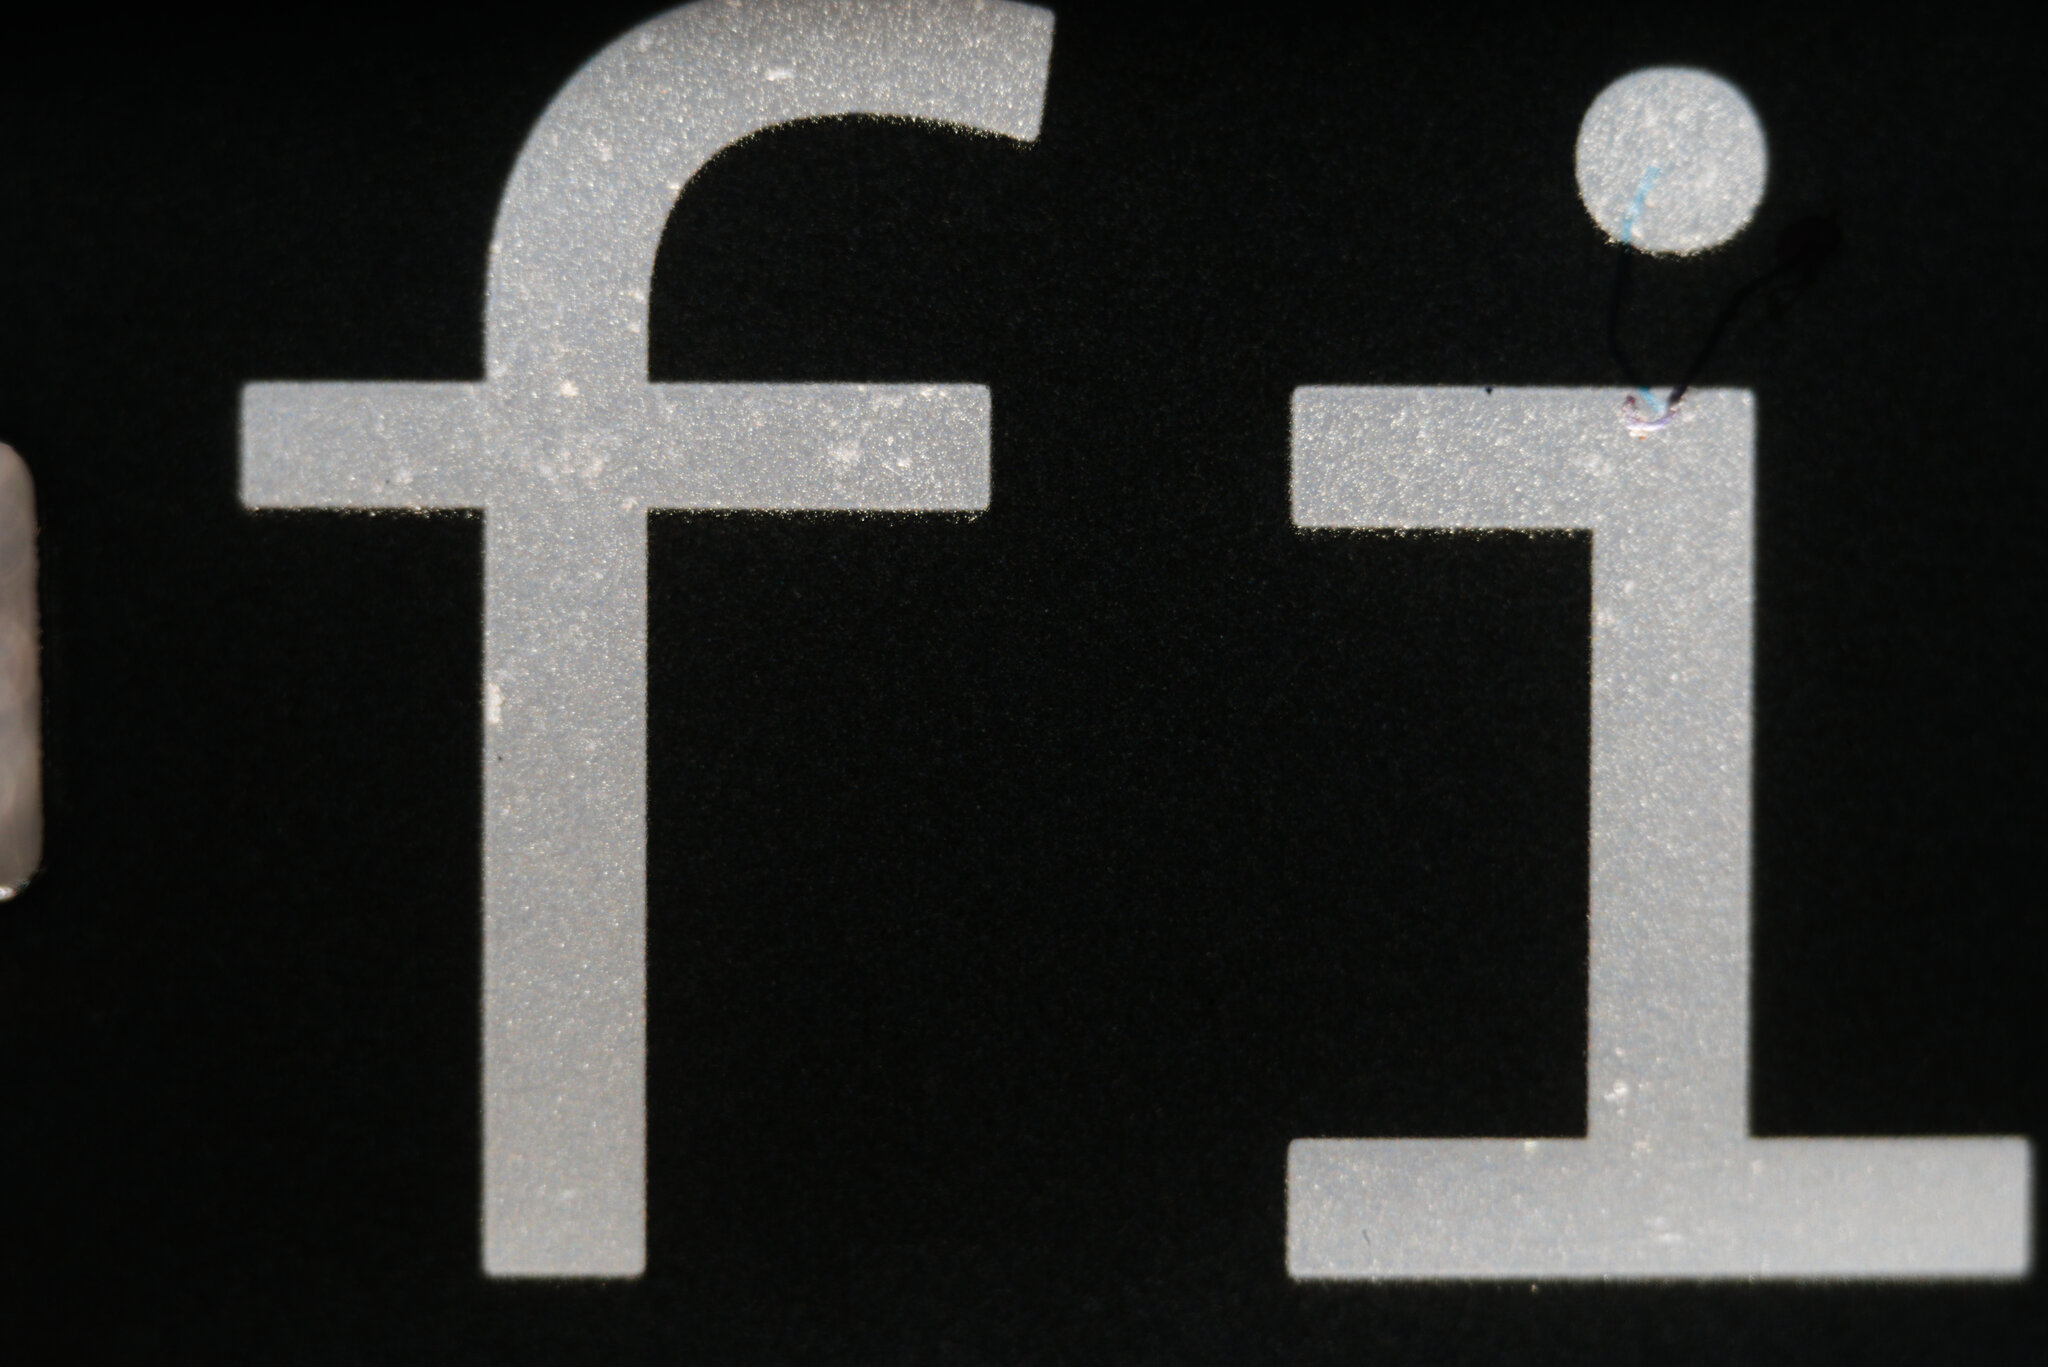
For best typographic results, don’t use a word processor like Microsoft Word, but a desktop publishing (DTP) program such as InDesign, Illustrator or the Open Source program Scribus which is freely available for Windows, Mac and Linux. Unlike word processing software, DTP programs support microtypographic subtleties such as kerning and can export their documents as image files.
For a typography crash course, check out this blog posting. (An extra piece advice: avoid Microsoft’s Arial font, a rather terrible Helvetica knock-off, and even worse, Comic Sans, but use Helvetica Neue, Franklin Gothic or the Open Source font Roboto. Or you make a deliberate choice of going up against good taste.)
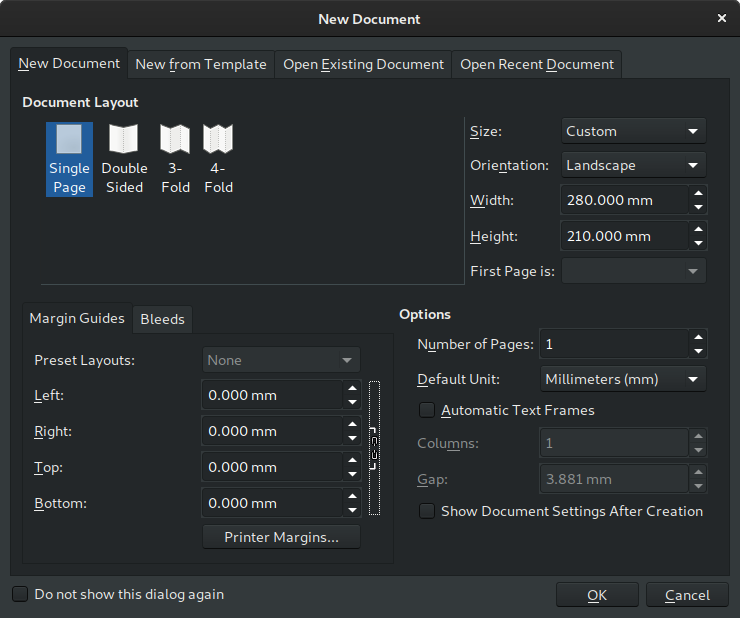
When working with Scribus, set up your new document in landscape format, with the same aspect ratio as the Super 8 film image, such as 28x21cm (11×8.26 inches). Place a text frame, typeset your film title and create a new page for each additional title. When you’re done, export the document pages as images (via the menu item File -> Export -> Save as image). Select PNG as the output format, adjust the size percentage so that the displayed Image size in Pixels matches the vertical pixel number of your flat screen. If your titles will be displayed on an HD screen, the vertical pixel count would be 1080, resulting in a 1440×1080 picture. For a 4K flat screen, double these numbers.
So far we’ve been assuming that you are creating static titles. For motion titles, you’d need to use the title module of a video editing program or a motion graphics program (such as After Effects) and export your title animation as a series of single picture files (in PNG, TIFF or JPEG format).
When you’re done exporting your titles, copy the exported still image files in such a way that each file will correspond to one frame in the Super 8 film you’re shooting. In other words: If each of your titles has, for example, a duration of three seconds, you’d have to copy each image file 54 times, into 54 identical files if your Super 8 film will be run at 18fps, or 72 times for 24 fps. If your titles have different individual durations, copy their respective files accordingly (such as 54 image files for the first title, 80 for the second, 36 for the third etc.). Make sure that all files will be consistently and intelligibly named and sorted in the right order, such as ‘title_01-frame_001.png’, ‘title_01-frame_002.png’ etc.. (Utility programs for batch-renaming files can be a helpful here.)
Step 2: setting up your flat screen display
No matter whether you’re filming your titles from a computer monitor or a TV set, set the screen to maximum brightness and contrast, and – if you’re shooting on color film – to the same color temperature as that of the film material.
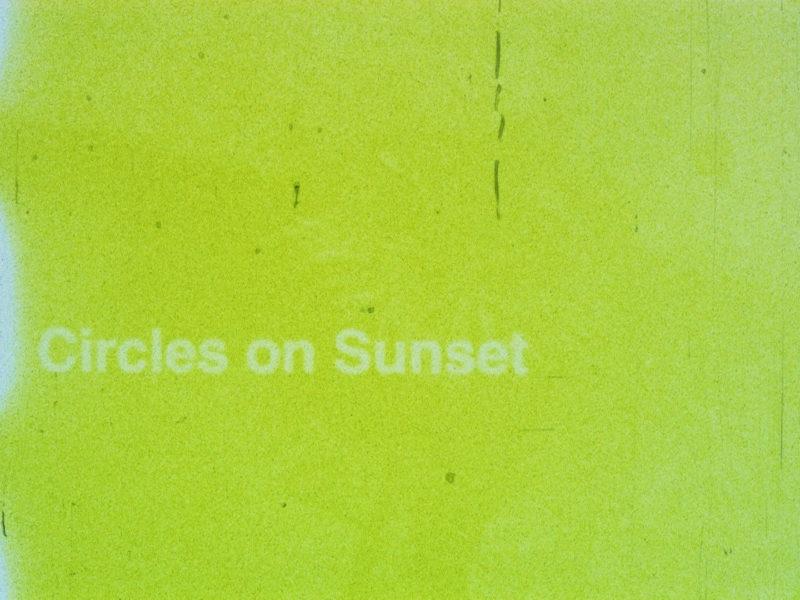
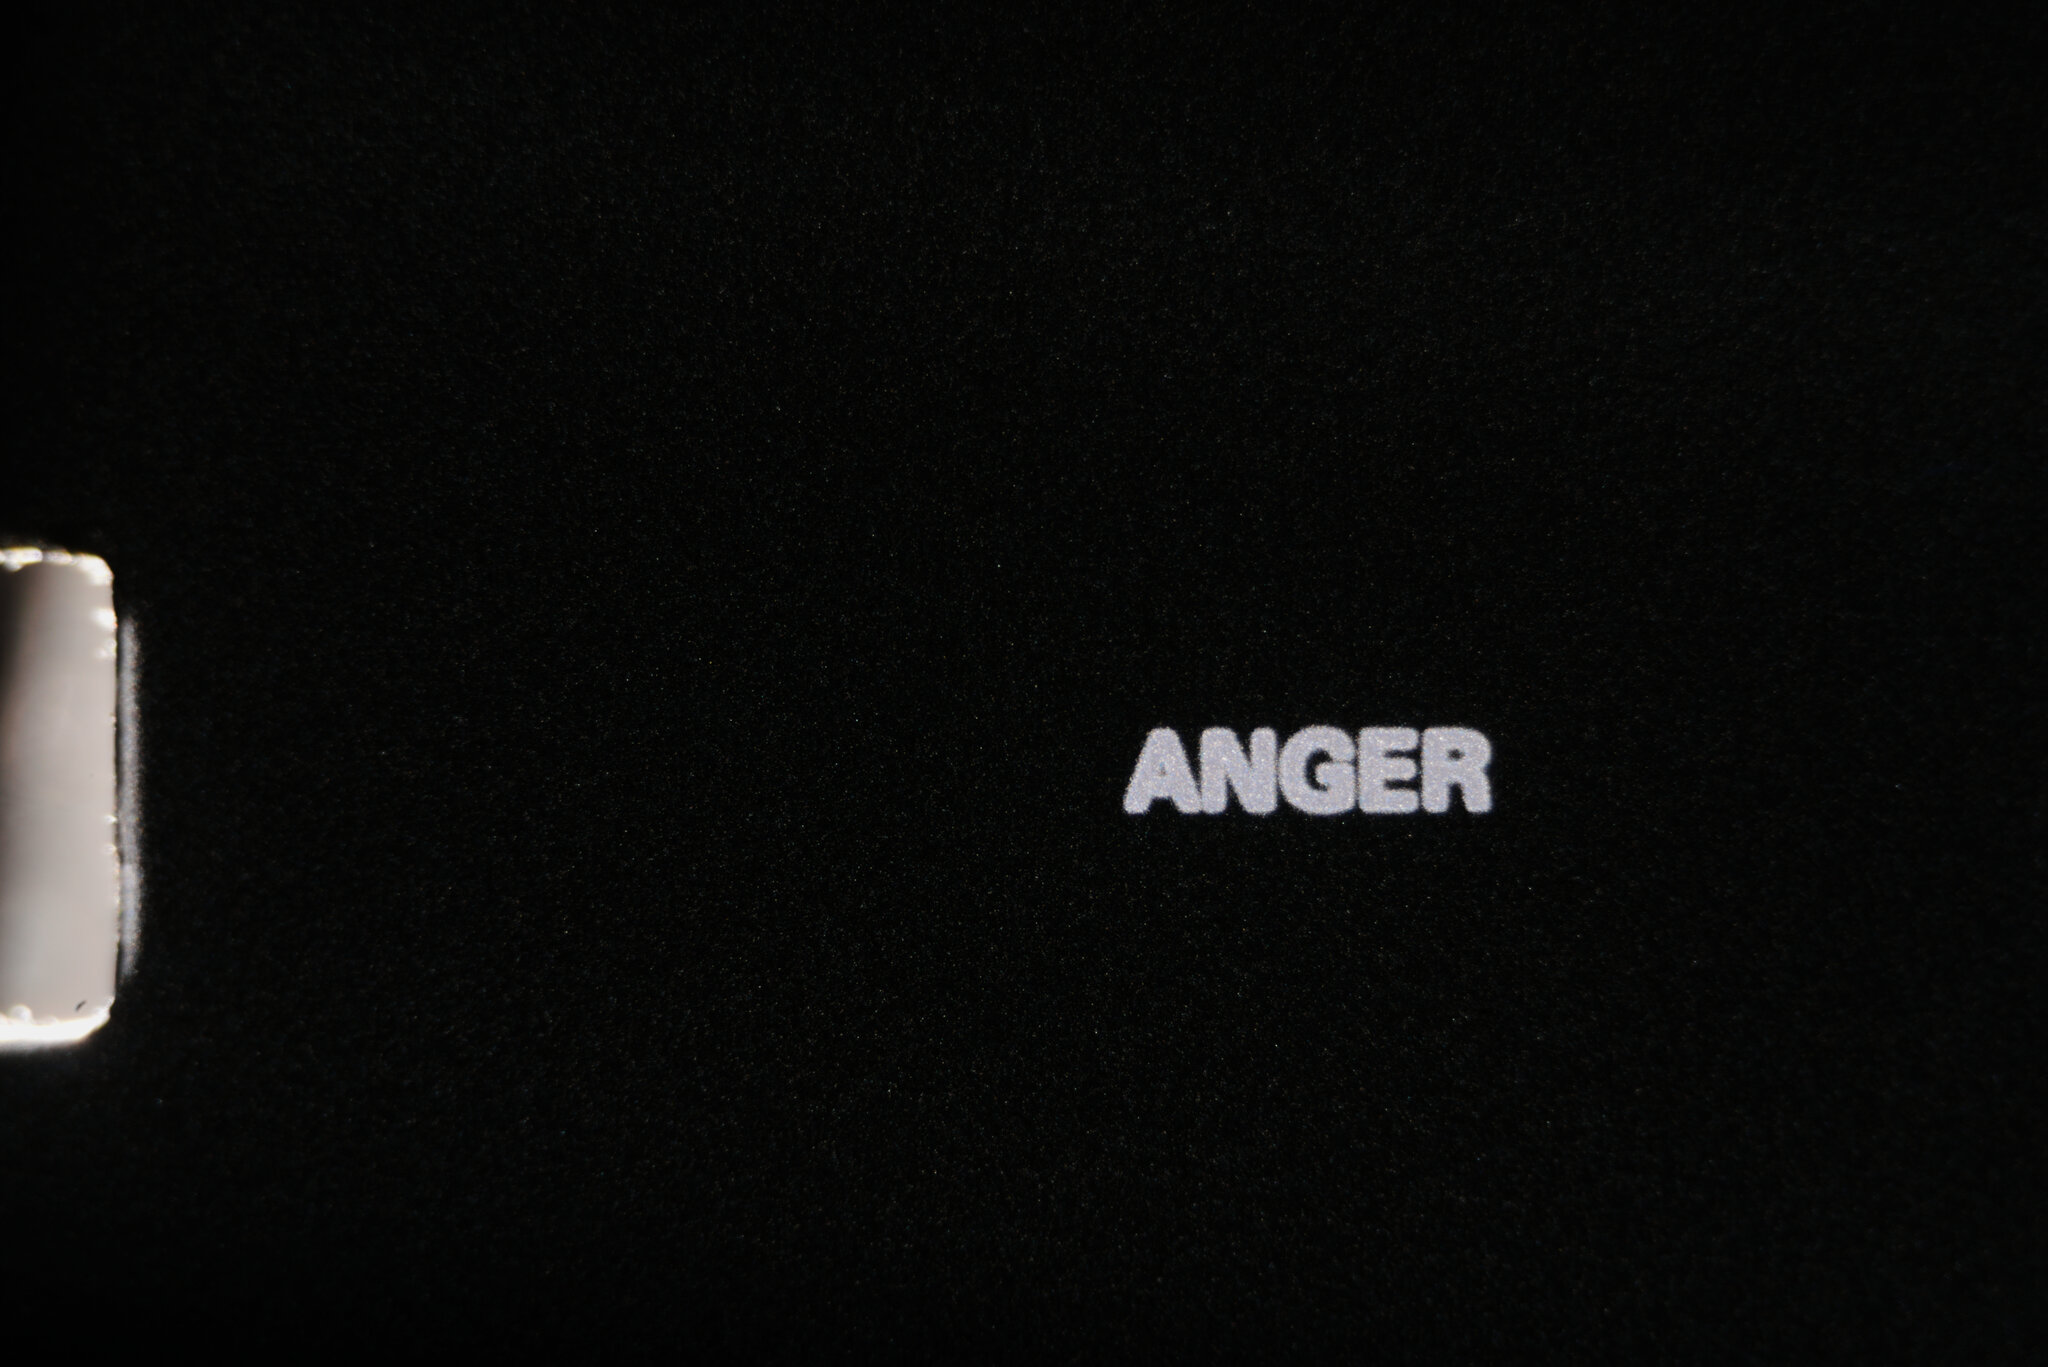
Today’s 4K flat screen TVs with HDR (‘High Dynamic Range’) are ideal for maximum contrast and resolution, especially when you’re shooting your titles on negative film and on high-resolution 16mm. But no-frills HD screens will produce good results, too. The Super 8 titles reproduced here in were shot on Tri-X film from a nine year old flat screen TV.
Step 3: configuring your computer software
Put the image files with the titles (with correct naming and in the correct order) into a folder. View them with a program that can display them full-screen without any menu or text overlays in pixel-perfect 1:1 magnification. For Windows, you could use the free program Irfanview, under MacOS the included Preview program, under Linux the image viewer geeqie.
Step 4: finding the right exposure
Good exposure may the most difficult part of the whole process. If you simply trust your Super 8 camera’s meter, then a title with black-on-white letters would most likely turn out with white having become medium grey; white-on-black titles could conversely result in a dark-grey background on film. In the ideal situation, black would be underexposed while white would be slightly overexposed at the same time. This however would only be possible with a very high-contrast and bright (HDR) flat screen.
In my own experience, the following trick works best: use a digital camera with a fully manual exposure program (i.e. with “M” on the mode dial), take a series of pictures with different exposures (also known as ‘exposure bracketing’), view them on your computer and set the aperture of your Super 8 camera to the same value as on the digital image that looks best.
For this, the digital camera must be set to its standard picture profile, JPEG capture and the same ISO as the Super 8 film stock. Ideally, the lens of the digital camera should have the same or similar maximum aperture as the lens of the Super 8 camera. (I.e., if your Super 8 camera has an f1.8 lens, your digital camera should ideally have an f1.8 lens, too, unless your test pictures would be greatly overexposed at maximum apertures anyway.) Set the shutter speed of the digital camera to 1/40 if your Super 8 film will run at 18 frames per second and to 1/50 for 24 frames per second.
If all your digital test pictures turn out too dark, then your flat screen is either too dim or the sensitivity of your Super 8 film stock is too low. (In real life, I didn’t run into any trouble with 100 and 160 ASA films and the aforementioned nine-year-old flat screen).
Take a series of pictures with your digital camera where you open the aperture by one stop in each of them so that you gradually proceed from underexposed to overexposed. View the pictures on your computer and choose the one that looks best – where black still is black and white isn’t grey. Remember the aperture of that picture (which will be displayed in its EXIF meta data), switch your Super 8 camera to manual exposure and set that same aperture.
Step 5: setting up the Super 8 camera
With a 40-50 inch flat screen, place the Super 8 camera about 2.5-3 meters (8-10 ft.) away on a tripod. The sturdier the tripod, the better. Make sure that the camera is (a) level, (b) horizontally aligned with the flat screen and (c) on the exact same height, with the lens pointing to the center of the screen.
In doubt, better move the camera further away from the screen and zoom in than putting it near the screen and shooting with the lens in wide-angle focal length.
Place your laptop (or, when you’re filming a computer screen, the keyboard of your PC) directly next to the camera. Sit in a position where you can comfortably operate the computer keyboard with one hand and the camera’s remote release with the other.
To focus the camera, display a test image on the screen, fully zoom in and adjust focus until the image details are sharp. Then zoom out so that the full screen but not its edges will be visible. Since the viewfinder of your Super 8 camera doesn’t fully cover the final image, zoom in a tiny bit more to avoid the screen edges showing up in the film.
Step 6: shooting…
Your room should be pitch-black dark. If that is a problem, shoot at night.
Shoot in your Super 8 camera’s single-frame capture mode, not with the camera running. (Running the camera while advancing title images will produce double- and half-exposed ghost frames on the film.) This is tedious work, but you’ll quickly get into a rhythm: display the first image on the screen, trigger the camera release, proceed to the next image (preferably via a keyboard shortcut), trigger the camera release, go to the next image, and so on, until you’ve reached the end of your image file set.
To fill an entire Super 8 cartridge with nothing but titles, you’d have to trigger your release 3500 times. This is tiring, but doable.
…and enjoying.
You’ll be rewarded with film titles that look as good as Super 8 can get. Conversely, your computer-typeset titles will lose their digital edge and look more organic. As opposed to having your Super 8 film scanned and titles digitally added in post, this process will give you real film titles. Their look and texture will be consistent with the rest of your film. And last but not least, you won’t lose your titles when projecting your film as Super 8.

An earlier version of this article was published in German on the website filmkorn.org.
You must be logged in to post a comment.


Hello there! I just read your article on creating better Super 8 titles on analog film, and I must say, it was a fascinating read. As someone who is interested in Super 8 film and the creative possibilities it offers, I found your insights to be very inspiring.
I really appreciate how you emphasized the importance of considering the title design before even shooting the film. It’s easy to overlook the title when planning a project, but as you mentioned, it can be a crucial element in setting the tone and style of the film. Your tips on choosing the right font and spacing for the title were very helpful, and I will definitely keep them in mind for future projects.
I also found your suggestions for using physical effects to enhance the title to be very creative. The idea of using a mirror to create a reflection effect or cutting out letters from cardboard to create a 3D effect is something that I never would have thought of before. It’s great to see how analog techniques can still be used in today’s digital age to create unique and visually striking effects.
Overall, your article has given me a new perspective on the creative possibilities of Super 8 film. I appreciate the time and effort you put into sharing your knowledge and expertise with us. Thank you for inspiring us to think outside the box when it comes to creating titles on analog film!
For some more information about us please refer https://tapestodigital.co.uk/8mm-film-to-digital-transfer-service